
Use an ancient watering technique to conserve water and automate watering.
Ollas are unglazed clay pots used for irrigation and date back thousands of years. Where they originated is debated, but said to have originated in either China or North Africa. They even eventually spread to the Central and South Americas. Ollas are one of the oldest forms of efficient watering systems. They are still in use in many countries to this day, such as: India, Brazil, and Iran.
They work by burying them in the soil around 3/4ths of the way and then filling with water. The water will slowly seep through the walls of the pot, effectively watering the soil. They will also collect rainwater, starting a cycle of watering without any work. If the soil is dry water is able to be pulled through the walls of the olla due to soil-moisture tension. If the soil is wet, water will not seep through the walls of the olla, since there is no tension. They really save the day when you need to be away from the garden a few days.
Making an olla is very simple, here are the things you will need:
Two same sized unpainted and unglazed terracotta planter pots.
Tube of waterproof 100% silicone glue.
Gloves, preferably not plastic.
Start by filling the bottom hole of the first pot with the silicone glue and leave it to dry. While the bottom is drying, line the top of the pot with glue and add the other pot upside down, so that the hole of the second pot is on the top. Once that is dry, pipe a line of glue all around the edge where the two pots are connected to make sure it is sealed properly. Smear the glue into any cracks so that it will not leak. Lastly, after that is dry, flip your olla over to add another layer of glue to the sealed hole. Leave your olla to dry overnight before use.
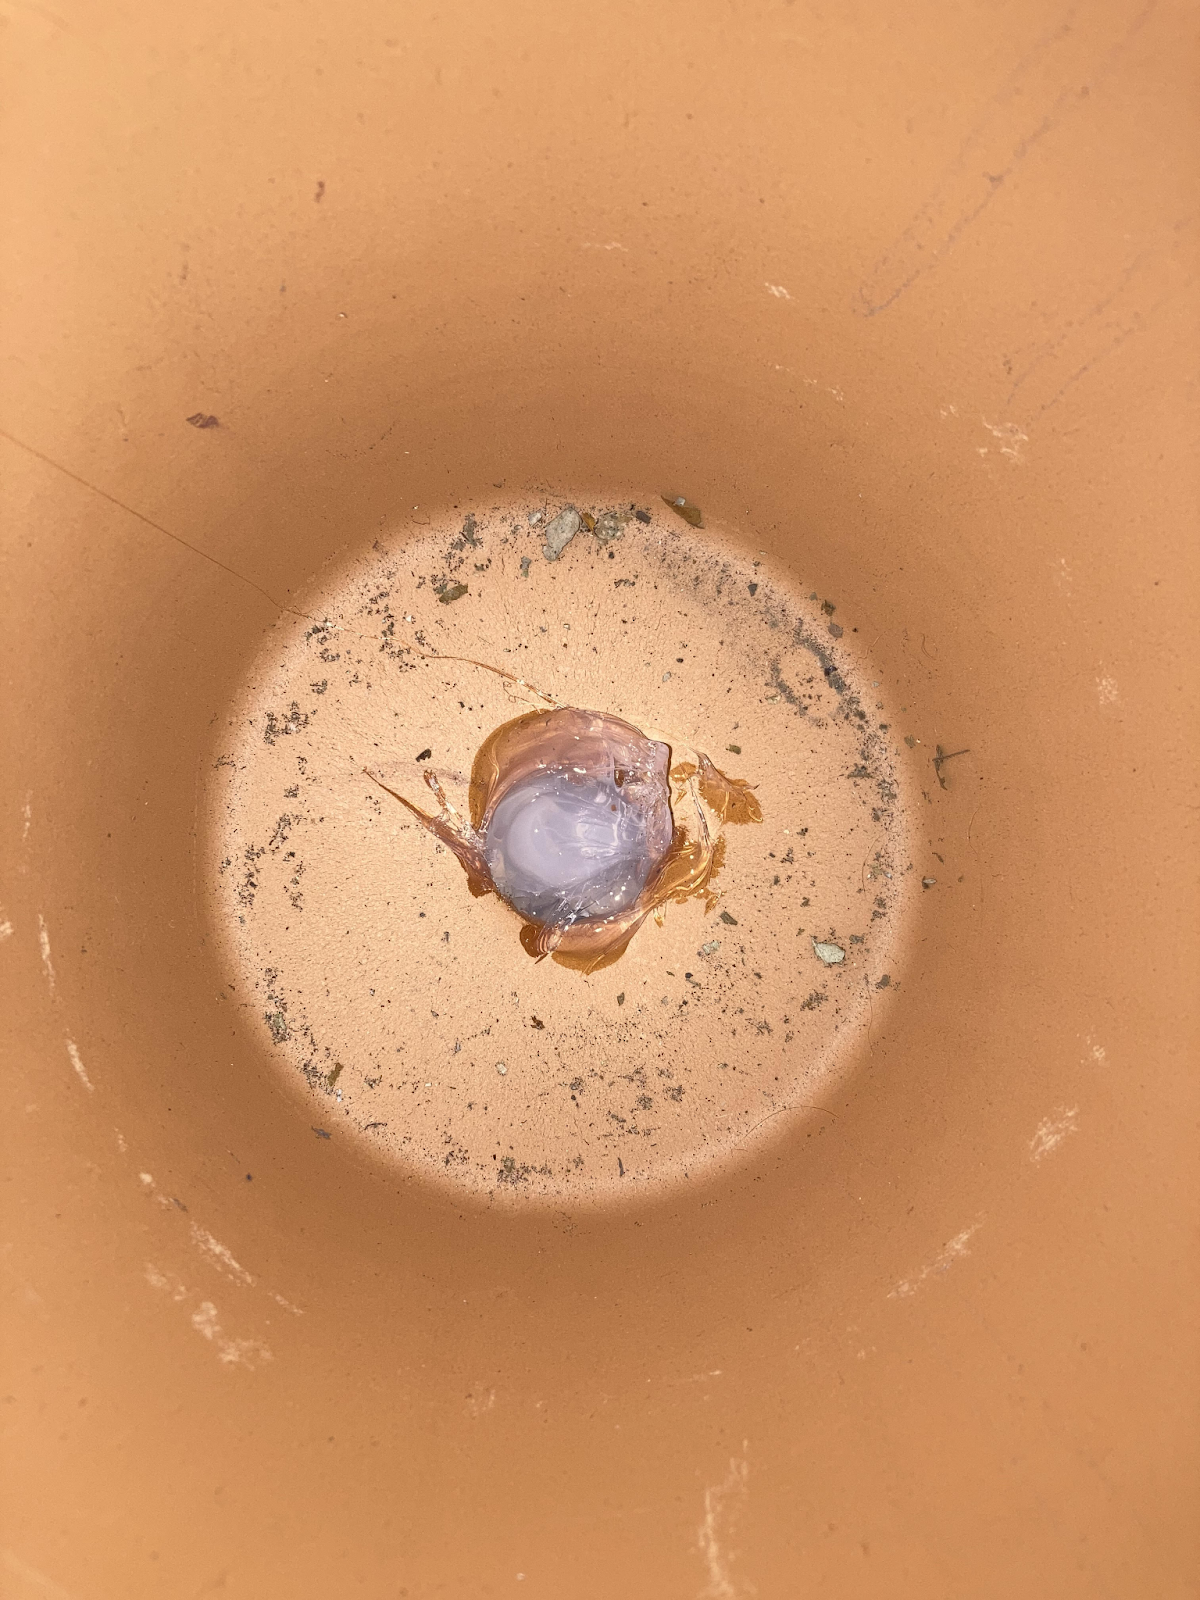
Filling the bottom hole
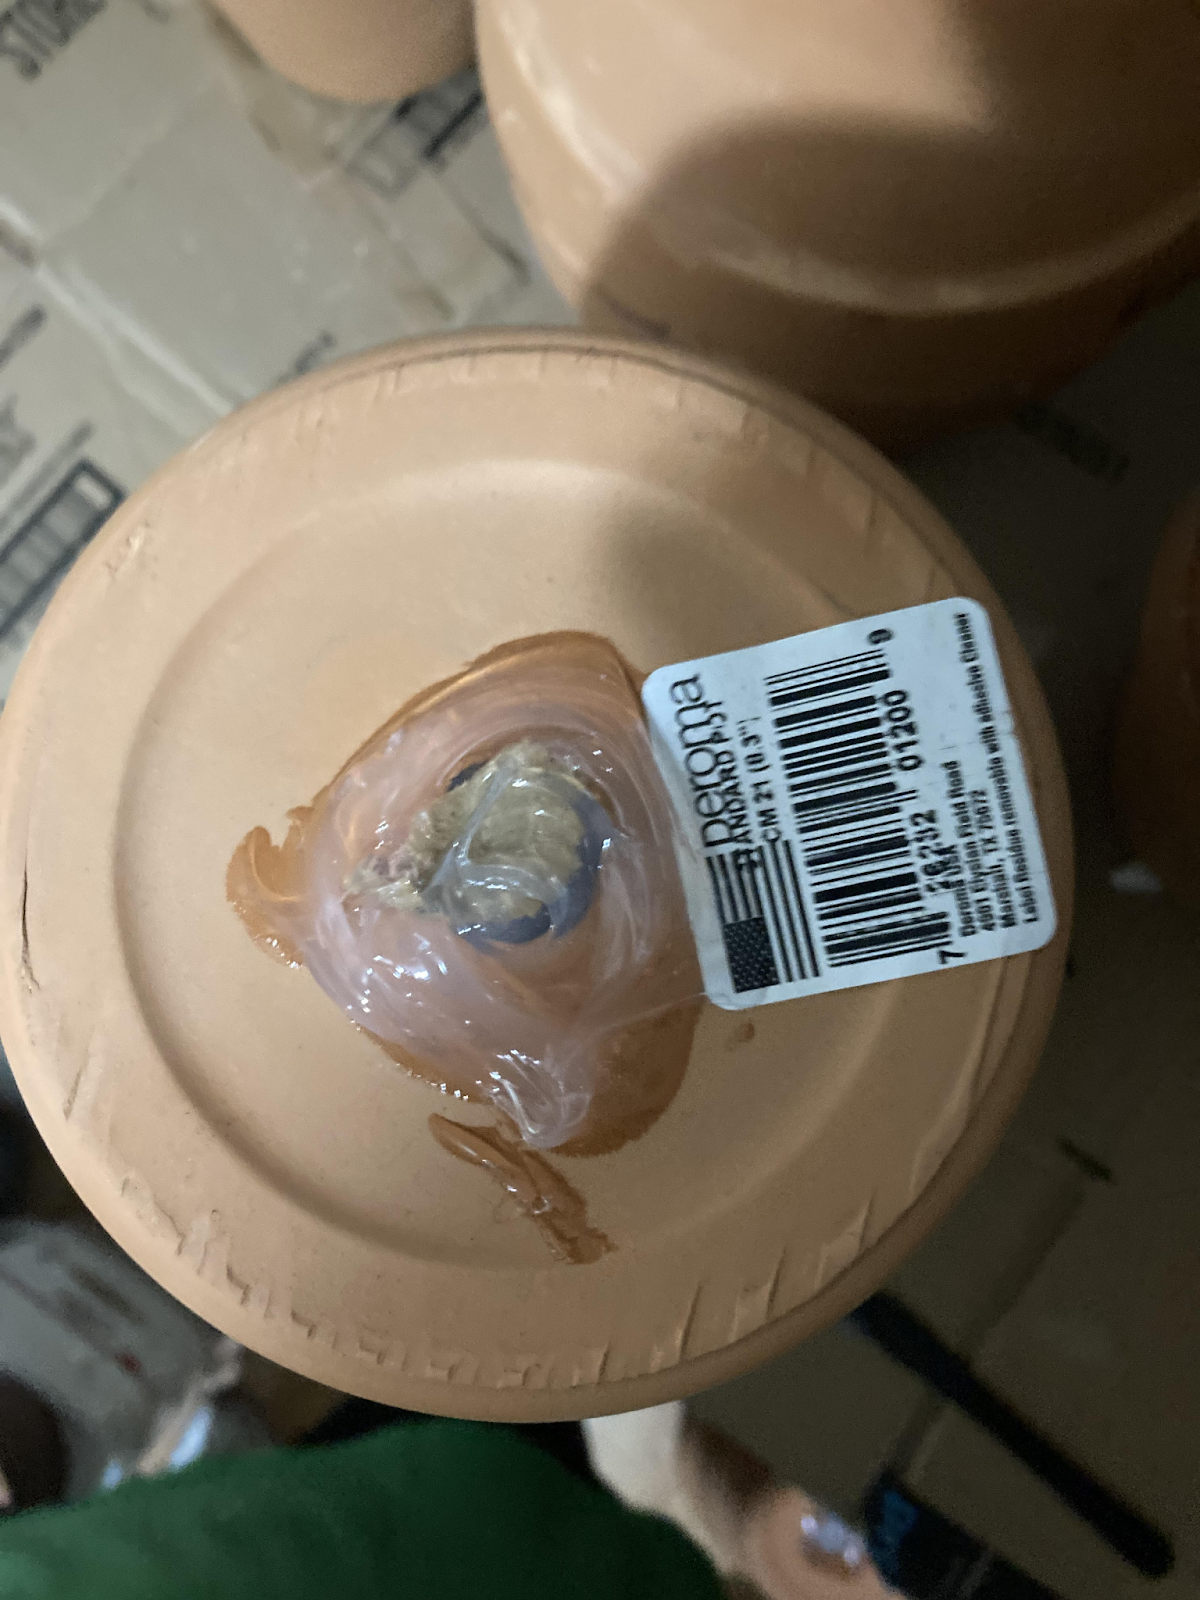
Covering the other side of the hole
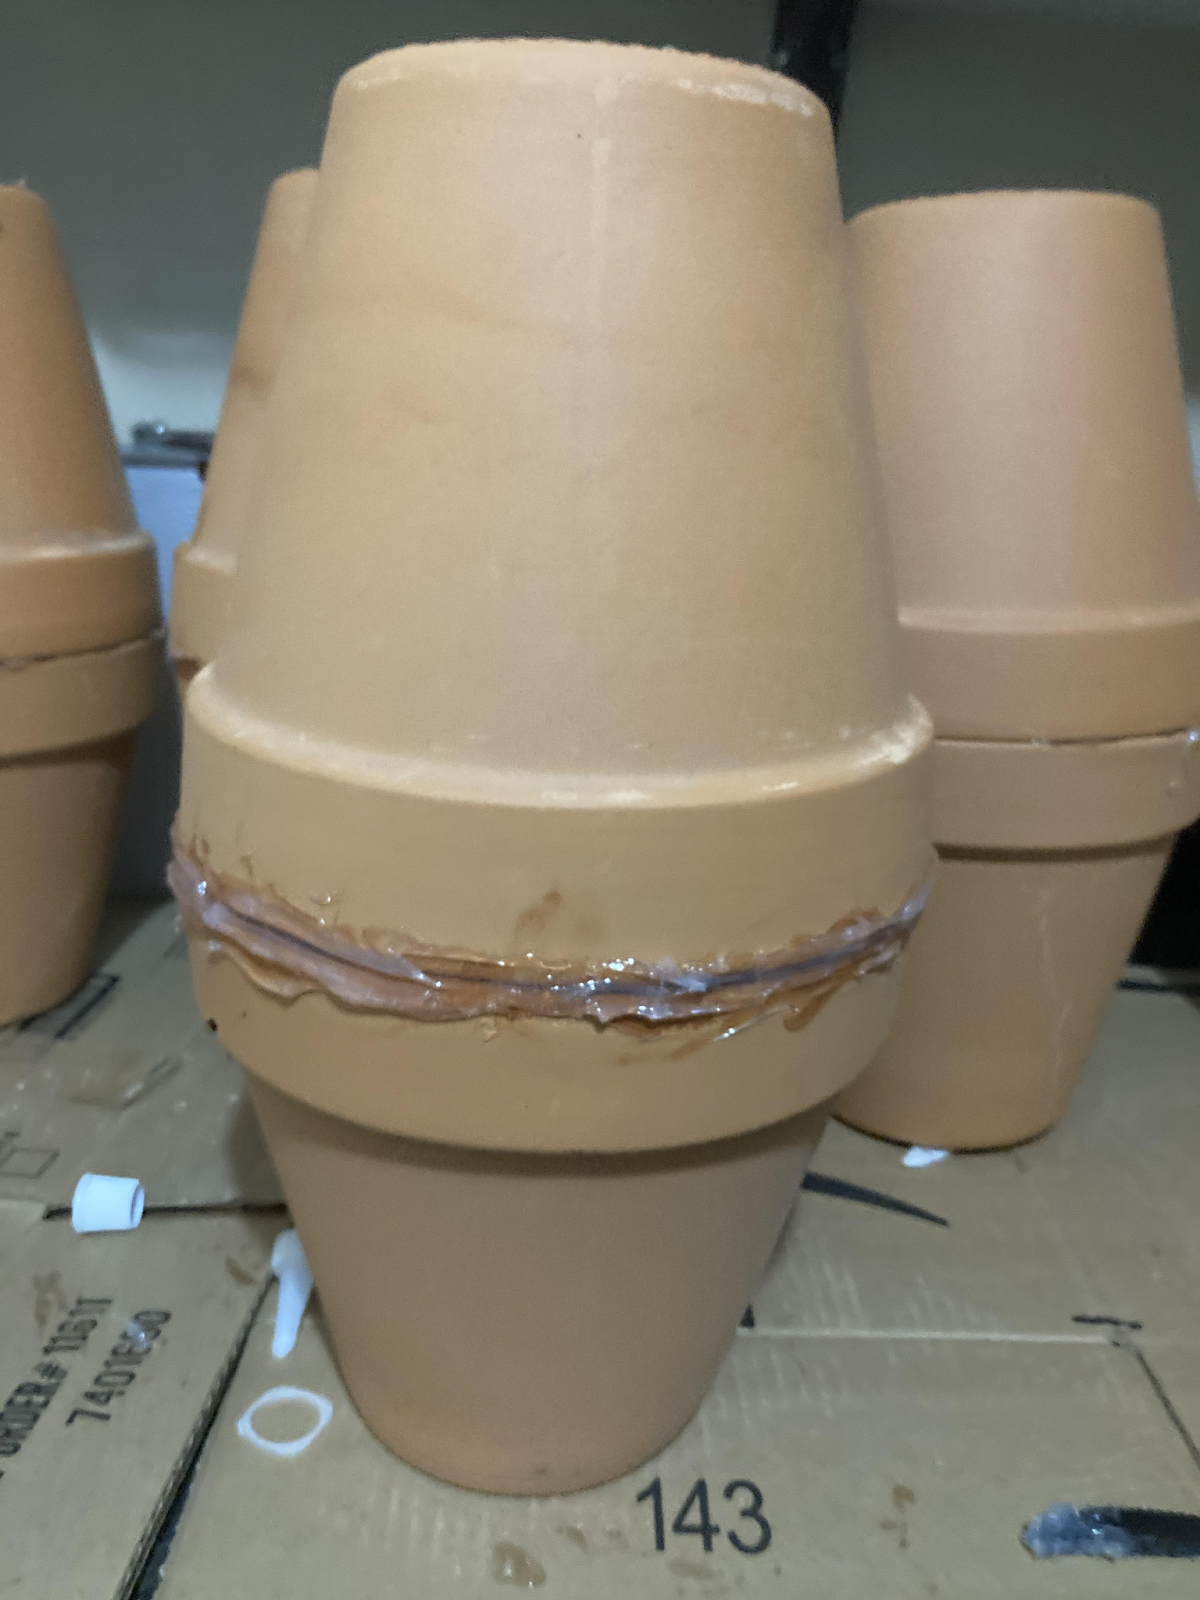
Glueing the pots together

Type of pots to use
To use the olla, dig a hole wide and deep enough to cover the pot 3/4ths of the way. Bury it, but leave the remaining pot uncovered, so it can collect water through the top hole. Plug the top hole with a stick and refill when needed. I usually just stick my finger in and chicken to see how much water is left and if its more then half gone its time to refill it.